
While sharing this idea on Instagram we had a few friends express interest in having the sticky labels for themselves. So that’s what this post is all about.
We designed these for you all so that you’d have something more beautiful to use when you take notes. We also thought it would be a cool idea to also couple the style of the sticky notes with a DIY Convention notebook that you can make for yourself.
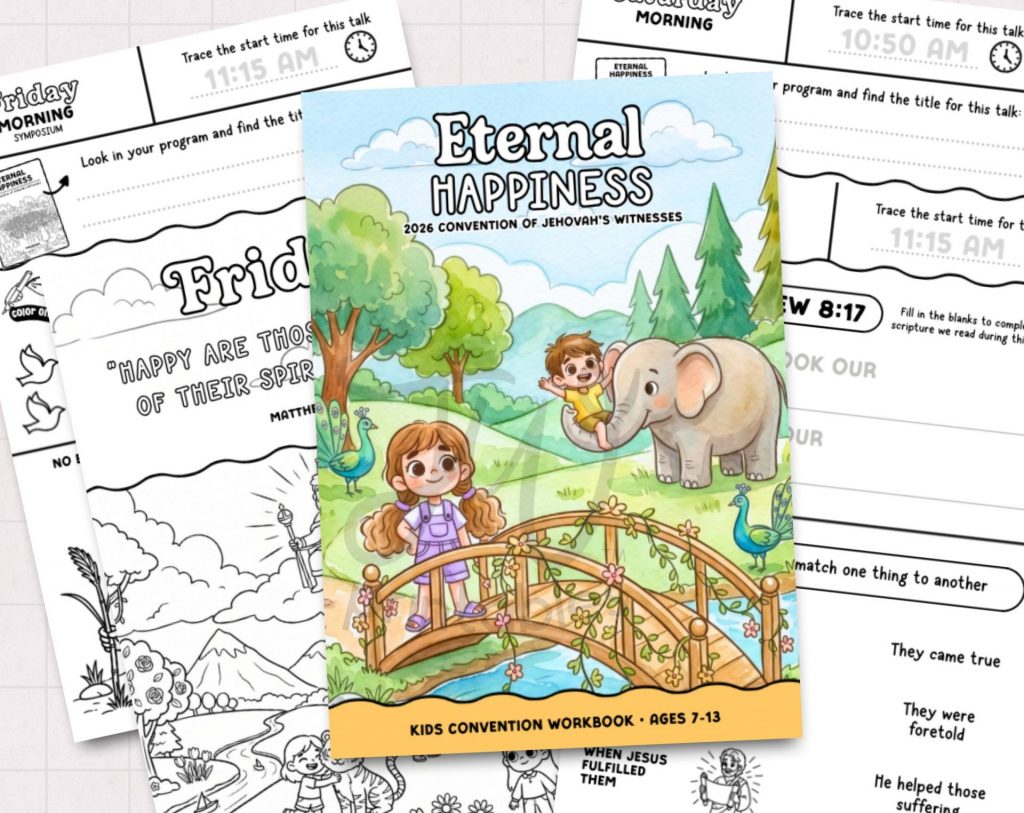
It’s Convention Time! Our favorite time of the year! We get to see old and new faces, talk to people we haven’t talked to in months, weeks or years and of course the amazing spiritual food is always a incredibly needed burst of fresh air.
For 3 days we really get to experience our spiritual Paradise in full bloom. Sometimes even beyond that if we stay out of town with local friends.
We always look forward to hearing the unified voices singing out to Jehovah, the smiling & excited brothers and sisters sitting around us and the more recent beautiful video presentations that are so anticipated each year.
For us, conventions are more enjoyable than any vacation we could ever take. We leave happier and more refreshed than when we came and we have so many good things to reflect on and think about until our next big gathering.
We’ve already attended our convention this year and was by far one of THE best contentions we’ve been to. Someone on Instagram said it best: Jehovah dropped the mic at this convention. It was amazing.
During this convention, we prepped a little differently than we usually do. We stumbled into this world of beautiful convention notebooks and the idea to use sticky labels for each talk instead of trying to hurry and write them out like we usually do. The sticky labels were AMAZING to use. They really made taking notes so much smoother and as a family we found that we were able to take in more information and write better notes using this method.
While sharing this idea on Instagram we had a few friends express interest in having the sticky labels for themselves. So that’s what this post is all about. However instead of the plain sticky labels we used for our convention, we designed these for you all so that you’d have something more beautiful to use when you take notes. (The ones we used were pretty ugly!)
We also thought it would be a cool idea to also couple the style of the sticky notes with a DIY Convention notebook that you can make for yourself and page holding bookmarks that will help you keep your notes organized based on which part of the program the notes were taken during (like Friday morning, evening, etc.)
The notebooks cost $1 even with the supplies we used to create them. This isn’t counting printer ink or paper of course, but just the notebook and supplies we used to make it. So, let’s dive into the tutorial!
How To Assemble The Notebooks
To Start, you’ll need 3 major things: The printables provided at the end of this post (free), 1 composition notebook (.50 cents), and 1 bottle of elmer’s glue (.50 cents.) Those are the basics, however you can also grab a paintbrush or a roller brush like we did to make the process more seamless. You can also use duct tape but we found that this is also optional, the notebook will function fine if you don’t use duct tape at all (as long as you seal the notebook after).
Step 1: Cut out the printables pages. You can cut out all sides or just the long straight end (with no curves) since you’ll be cutting into a second time. We want to cut the flat side at the very least so that we can align the cover correctly (centered)on the notebook before we glue it on.
Step 2: Depending on the size of your notebook (we learned not all composition notebooks are created equal) the pages you cut may be larger than the notebook itself. So, to get an accurate sizing place the cover design inside the notebook as pictured below and then trace around the edge of the notebook with a pencil to get the right size. Then, cut the trace lines to get your cover.
You’ll use this same method to apply the inside cover pages and the back cover as well. Just make sure everything is aligned well and take your time tracing & cutting the pages so they come out accurately.
Step 3: Apply glue to the notebook cover and spread out evenly using a roller brush or a paintbrush. Then apply the cover to the notebook. Elmer’s glue is really powerful stuff, so try to align the page very well onto the cover. Once the glue starts to set there is really no getting this off without ripping the cover design or even the notebook itself.
Step 4: Repeat for the back and inside cover parts. Place a book or something heavy on the notebook so it dries without warping or bending in the process. It took about 5-10 minutes for it to fully dry for us.
NOTE: We made the huge mistake of not putting a barrier between the cover and the notebook pages when we were applying and rolling the glue out, so some of our notebook pages ended up stuck together. We couldn’t redo the tutorial images over again, but if you can it’s probably a good idea to slip an extra sheet of paper under the cover to keep the glue from getting on anything else -even while the page covers are drying.
Step 5: Give the notebook a coat of elmer’s glue. This helps to prevent the ink on the cover design from bleeding too easily if it gets hit with moisture. Inkjet printer ink is water based, so while you could get away with skipping this step, it’s a good backup plan that dries within 2-3 minutes. We gave our notebook 2 coats. An added perk is that the glue really makes the colors on the notebook POP!
NOTE: In the photos, you’ll notice that we did this step after applying duct tape to our notebooks. This did not work well. So we tried a second notebook where we gave the notebooks a sealing coat of glue and then applied the duct tape and it worked beautifully!
Don’t worry about any bubbles or imperfections that may pop up in the glue. Most of the will disappear as the glue dries and any left over will feel like you gave the notebook ‘texture.’
Optional Step 6: Once the notebooks are dry completely inside and out, you can apply a strip of duct tape to the spine so it looks like a complete Composition notebook. That’s all!
The Book Marks
Included with the notebooks are convention talk labels and triangular bookmarks that fit on the corners of your notebook pages. Here’s some quick photos of the notebook bookmarks so you can see how they function.
The Convention Talk Labels
The convention talk labels are easy to use: just print on the appropriate Avery Shipping Labels and you’re pretty much done. We used Avery sticker sheet #18160 to print these off. They cost about $3.50 for 300 stickers where we are. Using the the PDF file to print the labels is easy and the sticker sheets come with instructions on how to feed them into your printer.
Become a Supporter
Unlock premium features and support our creative community
Only the price of a large coffee
Get unlimited high-quality JW printables • Cancel anytime
Comments